

Adding a Block in Moodle
What are Blocks?
Blocks are items (menus or informational) which can be added to the right column in your Moodle course.
Adding
From within your course in Moodle, click the Edit mode toggle to turn editing on.
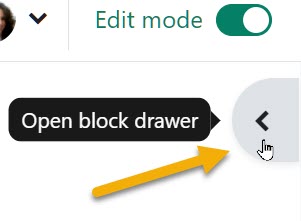
If your blocks on the right side of the screen are not open, click the Open block drawer option in the upper right of the page to open them. Click Add a block.
Scroll through the list and click on the block you want to add. Note: If a block is “missing” from the list, check your course, it may already be there. The screen refreshes and the block is added to the bottom of the column.
Moving
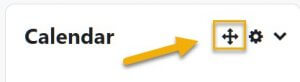
With editing turned on in your course, locate the Move icon in the upper right of the block. The icon looks like multi-directional arrows.
With your mouse pointer over the Move icon, click and hold, and then drag and drop the block to where you would like it placed.
Editing
With editing turned on you will also see the Actions menu icon in the upper right of your blocks.
The Actions menu icon looks like a gear, click on it and then select what you would like to do with the block:
- Configure
- Hide (make invisible to students)
- Permissions
- Check permissions
- Delete
For Moodle help, contact the NMC Technology Helpdesk at 231-995-3020