

Moodle Attendance Activity
To use the Attendance module in your course, first add the activity, then add your session dates, adjust the grading variables, and lastly, grade.
Creating the Activity
Step 1: In your course in Moodle, with editing turned on and in the topic area you would like to place the Attendance activity, click the Add an activity or resource link and select Attendance.
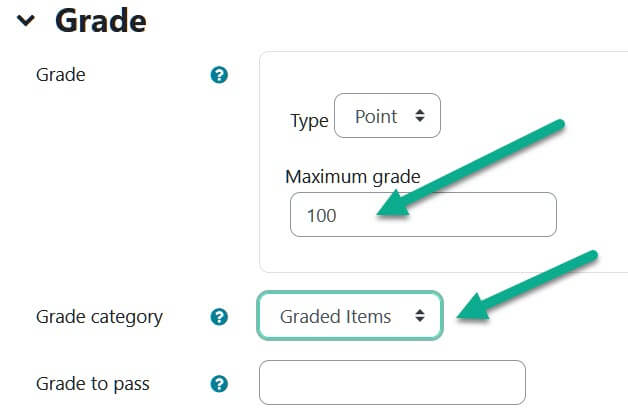
Step 2: For General settings, fill in a Name and select the Grade points from the drop down menu. (Note: works best when the grade points are set to 100. From there, we can scale in the gradebook.) Choose what Grade category you want this activity categorized under in your grade book.
Step 4: Click the Save and return to course button at the bottom of the page.
Adding Sessions
Now that you’ve created the activity, let’s go ahead and add the session dates you would like to take attendance for:
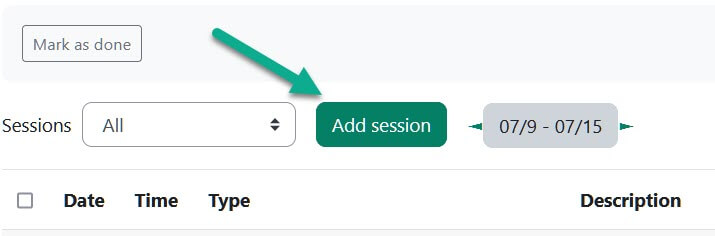
Step 1: Click the title of your Attendance activity to open it, and click Add Session.
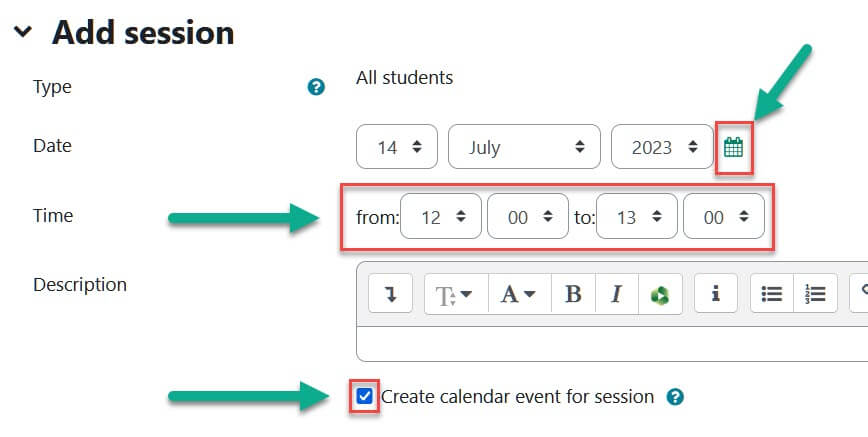
Step 2: Add the first session you want recorded by selecting the calendar icon and adjusting the Time the first course meets. Click the checkbox Create calendar event for session if you want the session to appear in your course calendar. Repeat this step for each class session you want to include or, if you want to add all of your sessions at once (strongly recommended!), continue to step 3 (below).
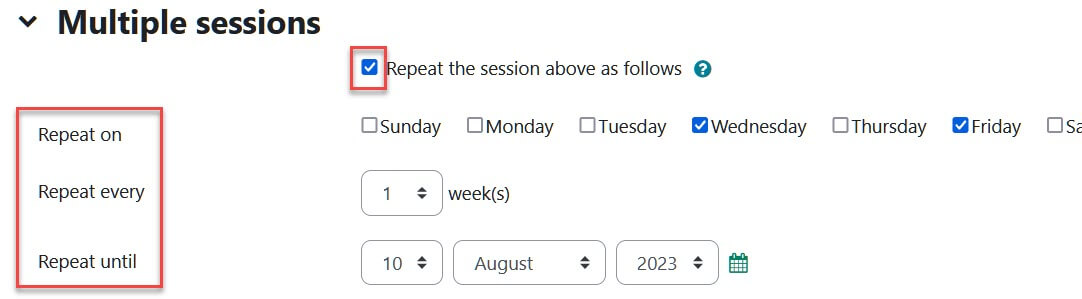
Step 3: To record multiple dates at once, under Multiple sessions check the box for Repeat the session above as follows and click Repeat on for each day of the week your class meets. Repeat every, is usually set for 1 week, but adjust accordingly. Repeat until is the last day of your course or the semester.
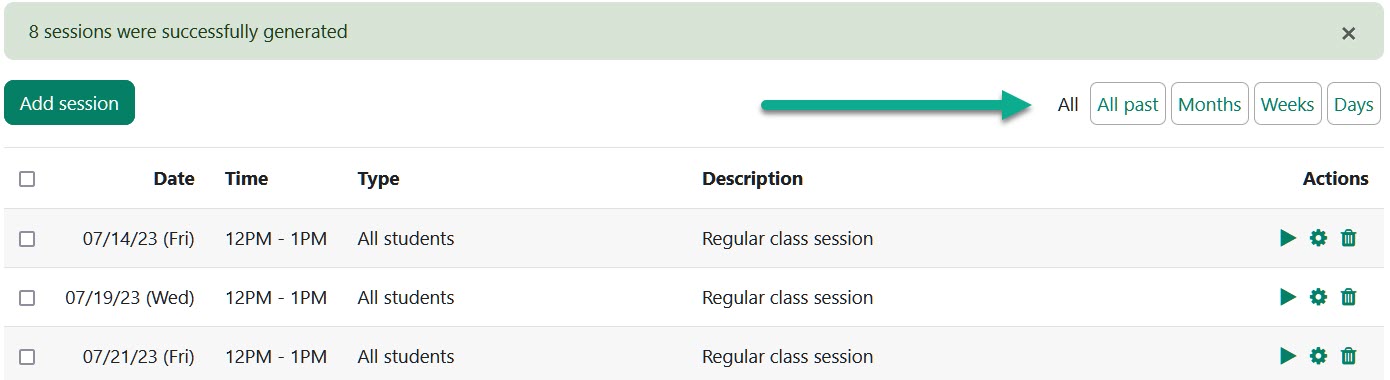
Step 4: When you are finished, click the Add button at the bottom of the page. You should see the sessions you created, if you don’t see a list of all the sessions, click on the All button.
Adjusting Grading Variables
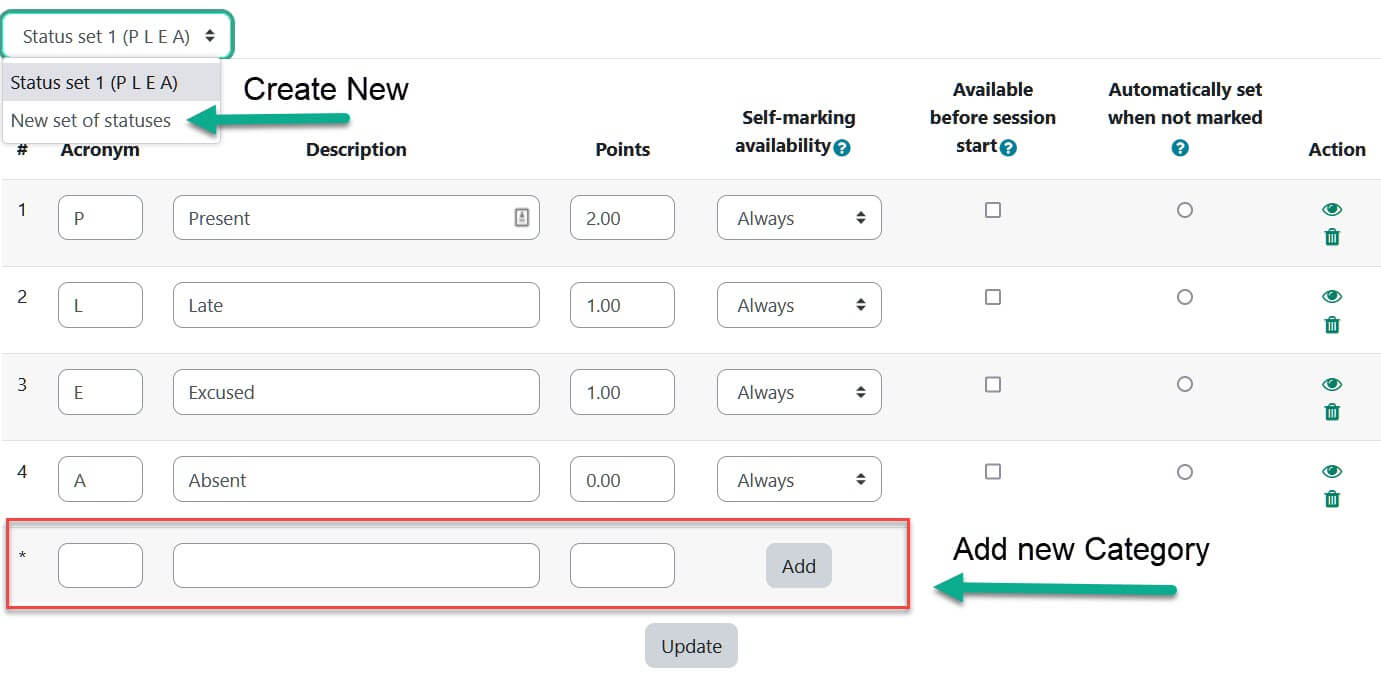
By default, the variables used to grade are:
P = Present
L = Late
E = Excused
A = Absent
You can change these, add others, or create a new status set. You can also adjust the grade points associated with each.
Step 1: In your course, click the title of your attendance activity to open it.
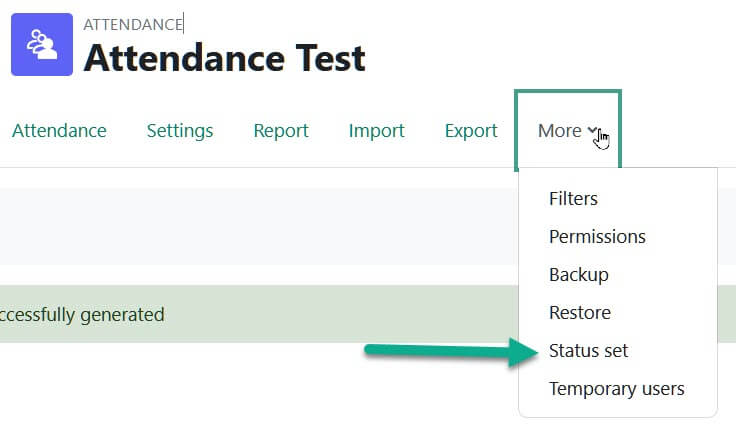
Step 2: From the More drop down menu, select Status Set.
Step 3: Change any of the existing variables or create a new variable by typing the information in the empty bottom row and clicking the Add button. You can also delete a variable by clicking the Delete (trash can) icon in the Action column for that variable (you may have to scroll to the right to see the column). NOTE: You can also create additional status sets by clicking the drop-down and selecting New set of statuses.
Step 4: When you are finished, click the Update button at the bottom of the page.
Grading/Taking Attendance
Step 1: From within your course in Moodle click the title of your attendance activity to open it.
Step 2: Find the session you would like to grade. Notice you can sort sessions by All, All past, Months, Weeks, and Days.
Step 3: Under the Actions column for that session click on the Take attendance icon that looks like an arrow pointing to the right, or like a play button.

Step 4: From the View mode drop down menu select your preferred grading view. You can select a Sorted list or Sorted Grid.
The variable letters (P L E A) in the top row allow you to mark or un-mark all students as once. To grade everyone present, click on the P and everyone in the class will be marked and scored as present.
Mark your students, any Remarks you type in the box provided will only be seen by you and that student.
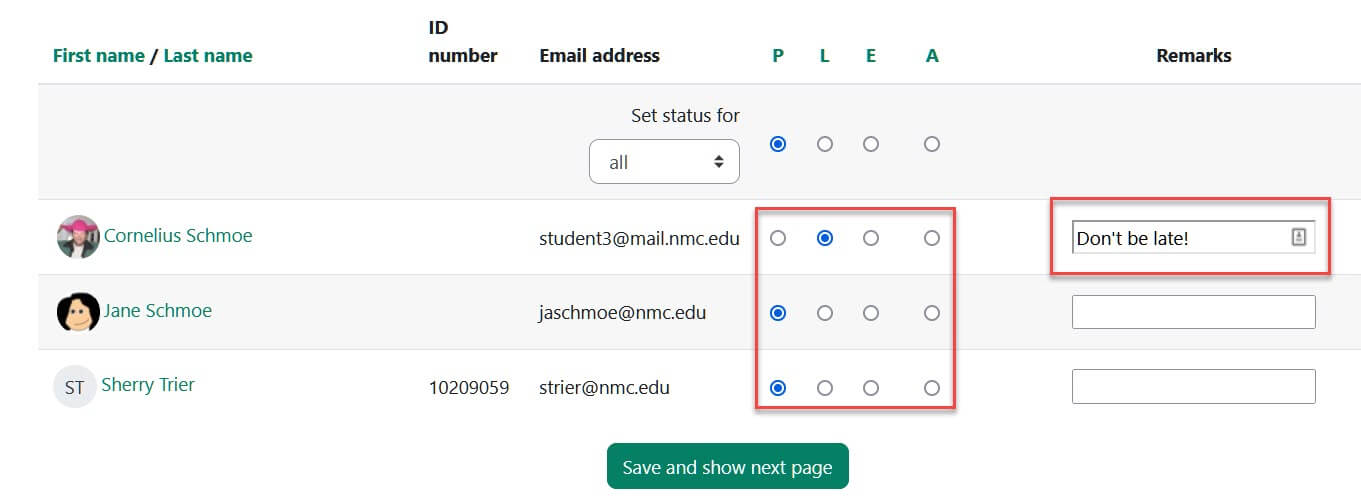
Step 5: When finished, click the Save and show next page button at the bottom of the page.
For Moodle help, contact the NMC Technology Helpdesk at 231-995-3020