

I have started using the Quiz feature in Moodle to collect feedback and short-essay reflections from my students. This feature has proven to allow students a greater amount of time to reflect on the content/experience, and thus the responses I receive are more thoughtful, insightful, and lengthy than those I would get on paper. I grade these responses as Cr/NC – free points in essence for providing QUALITY responses to the questions. This practice has yielded helpful feedback for me (re: lessons, course content, and outcomes) and allowed students to have deeper reflective experiences on their own assumptions, perceptions, changes, and learning.
Here are some steps for setting up Quizzes for Reflection and Feedback uses:
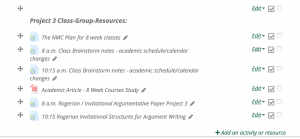
Step 1: Click the Green button at the top of your course moodle shell to turn on editing mode. Go to add activity at the bottom of the section where you want to add your “quiz”. See picture below:
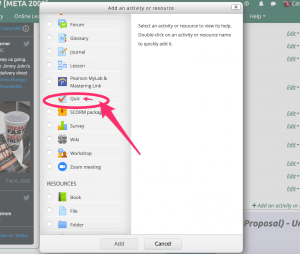
Step 2: Choose “Quiz” as the activity you want to add. See picture below:
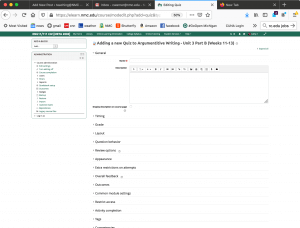
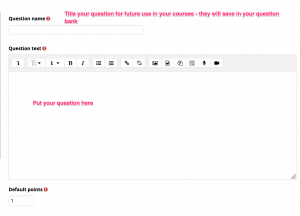
Step 3: Set up your quiz by giving it a title (i.e. Week # feedback, or Reflection, etc.). You can also enter a description, but it is not necessary. THIS IS NOT WHERE YOU ENTER YOUR QUESTIONS. See picture below:
Step 4: After you have set up your “Quiz”, you will need to add content. You do this by clicking on the Quiz link you just set up. You will need to “Edit” your quiz to add content. You will then click “add” to add your questions.
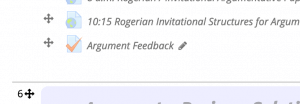
Below – I would click on “argument feedback” – the quiz I created for this blog. You would click on the quiz link you’ve created.
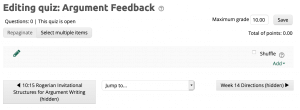
After clicking on the link above, you’ll come to this screen — you will need to “Edit Quiz” to add your questions.

The editing quiz screen looks like this (see pic below). You add content by clicking the add button.
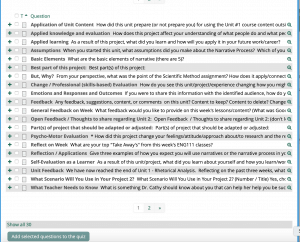
Step 5: You need to add your questions. There are THREE options – add a random question, add a question from your question bank, and add a new question.
You will want “Essay” as the form of your question. All other options don’t lend themselves to this kind of use. Te “short answer” response is not good for a response and is auto graded. If you have a 1-word response it can work, you will want to use “*” as your desired answer, so all answers are accepted. If you previously haven’t set up any quizzes, you will not have a question bank. You will need to “add new” questions. If you have previously used quizzes, you will have some questions. Random questions add any random question from your question bank. Add from question bank allows you to select previous questions from the question bank.
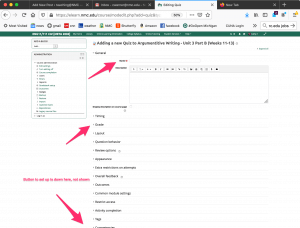
Step 6: You will need to determine which part of your grade book (i.e. Unit) you want this quiz to be graded with. You will also want to determine how many points each question is worth. These are features you can choose in the quiz editing area. See image below:
Step 7: Reminder: you will need to “Manually Grade” these responses. You can grant the number of points a student has earned from their response (I grade these as C/NC, granting full points to those who respond). You can also provide your own feedback responses to their thoughts.
I hope this walk-through is helpful. I have found that the feedback using this process is extremely helpful as a I evaluate my lessons, content, and teaching. Student reflections are often more lengthy and go deeper than the handwritten responses I have also used.
Should you want more information on this practice, please reach out to me – cwarner@nmc.edu. I will provide examples of my student feedback and reflections in a future post.